We Eberspachers do Christmas early in our house. November 1st., the fall décor comes down, and the Christmas goodies go up. Some say that it’s too early, but the way I see it, I want to enjoy all of the Christmas beauty for as long as possible (for all of you who claim that you can’t/shouldn’t put up Christmas décor until after Thanksgiving, your totally missing out. Bah, humbug, to you!).
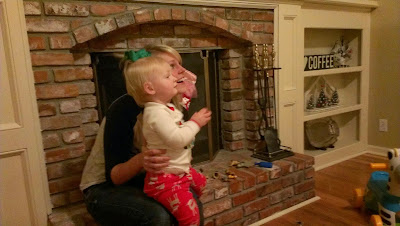
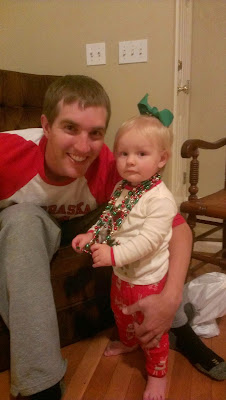
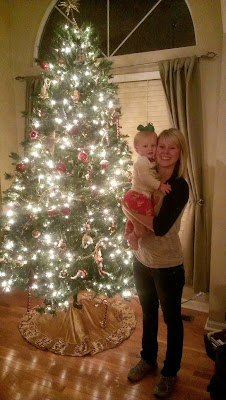
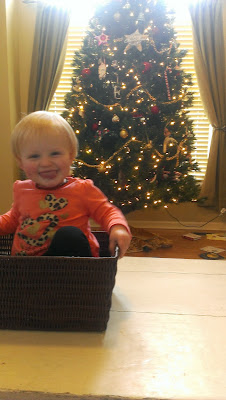
This was the first year that little Nora really got to get in on the action. She had a blast putting up ornaments on her level and watched in wonder as we lit up the tree for the first time. It really was so special. Having said that, Nora has taken “trimming” the tree to heart; I have found numerous objects in our tree the past few days: toys, empty bottles, even the poor wise men from our nativity scene. They have all taken a home, albeit a temporary one, in our tree. Gotta love a kid with spunk, right?
I thought it would be a fun idea to give out some of my tree trimming tips and suggestions to make your tree gorgeous this holiday season. I have had lots of friends call me asking for decorating tips, including how to trim their tree, so why not post about it. Whether you have a little tyke in your house or not, I think that there are some key pointers to making your tree radiant! So let’s get started!
1. Tree placement: in our house, this is a no brainer. We have a gorgeous living room window that screams “Christmas tree!” It literally makes our house glow from the outside at night and since it is in the center of the room, it makes a perfect home for our 12 foot, pre-lit beauty. If you don’t have a large front window, a corner of the room also works great. We had to do this last year due to extra baby gear (swing, rocker, changing station, etc) and it worked out great. That way, all of your gifts can be safely nuzzled into a corner as well and keeps the layout of your room super open.
2. Choosing a tree: for Eric and I, neither of us grew up with real Christmas tress. Some families love going out and chopping down their own tree, but for us that wasn’t something that either of us were super hyped about. We purchased our tree at Hobby Lobby, regular $600.00 and with coupons and sales got it for $200. BEST. DECISION. EVER. We have a pre-lit, 12 foot, 4 piece, white light, collapsible tree that takes literally 5 minutes to set up. It makes the set up easy, so your decorating can be the real center of fun!
3. Choosing your colors: Our entire house has a general theme of red, gold and silver at Christmas time. You can read all about why/how I chose that here. That being said, our tree matches the rest of our other Christmas décor perfectly. Let’s go into a little more detail on that….
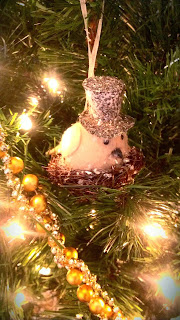
a. Garland: most people I know don’t decorate with garland. Either they don’t think about it or they are too lazy to put it up. For me, garland makes quite a bit of difference with the overall “togetherness” of the tree. Going along with our original color scheme, I chose a bright gold beaded garland. I knew I would be using silver tinsel, so gold seemed to be the most logical choice. Nowadays, there are so many garland choices: beads, burlap, tool, vintage garland, pearls, popcorn and cranberries…the list goes on and on. Garland is the FIRST thing that should be hung on the tree once it’s set up. It gives you a good “schematic.” if you will, for the rest of your ornaments.
b. “Filler bulbs”- one thing my mama taught me is that you always have to have filler bulbs on your tree. No matter how many ornaments you might have, your always going to have empty space. This is where your filler bulbs come in. After you hang your garland, evenly distribute your filler bulbs all over the tree. These can be any assortment of design or shape, as long as they are in the same color scheme. Again, our theme is red, gold and silver at our house, so those are the bulbs that I purchased. I hit up Hobby Lobby when their Christmas décor was 40% and got tons of different bulbs: glittery, dulled, shiny and pale toned in those three colors. In addition to bulbs, you can use pinecone clusters, bows, sprays, candy canes, etc. Since there are little hands all over our tree this year, I purchased some extra plastic bulbs to place within Nora’s reach and used string instead of hooks to hang them. Although I’m teaching her to not touch them, if she happens to grab one while I’m not looking, no harm to her will be done. The KEY for filler bulbs is not to place them on the outskirts of your tree, but IN your tree to give it depth. For so long, I only hung ornaments on the outer branches. But my Christmas tree was rocked when I finally realized how much it changed it to put the bulbs deep within the tree. Thank you Mary Carol Garrity for teaching me this. Whoa. Try it. I promise, you won’t be disappointed.
**note: if you really want to have a husband friendly tree, put REAL candy canes on them. Your husband will love you forever**
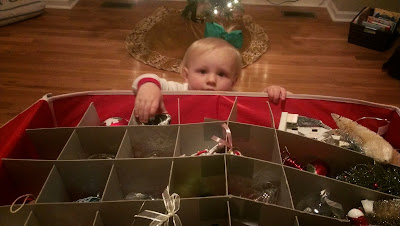
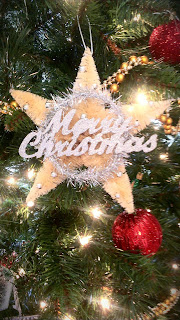
4. Other ornaments: After your garland has been strung and your filler bulbs placed, now it’s time for all of your other individual ornaments. These are those special ornaments you’ve collected over the years, gifts from friends, etc. For us, we have purchased a few new ornaments every year to add to our collection.
I tend to buy ones that have meaning for what has happened in our family the past year, or ones that I just can’t walk away from because they capture my heart. Something that I would highly suggest doing, is writing the year on the back or the bottom of the ornament. That way when you pull them out year after year, you can go down memory lane as a family. I fondly remember pulling out certain ornaments and having special memories of purchasing them and the way I felt when I did. We still trim my folks tree together to this day and I get all giddy when I pull certain ones out, especially my little Christmas dove with glittery wings. Eric and I decided to start a tradition of getting our kids a new ornament each year. Nora is obviously too young to really “choose” her own this year, but she started squealing when we walked past this Mickey Mouse ornament in the Disney Store. The girl loves watching Mickey Mouse Clubhouse, so I thought it would be fitting for her this year.

5. Tinsel: I have often thought for years that tinsel is only for the brave and daring. Especially when you have a little one. I would not be surprised if we found a poopy diaper or two laced with tinsel this holiday season. Talk about an unexpected gift 
6. Star and tree skirt: Rule of thumb, your tree will look SO put together if the star and skirt match. Of course this isn’t a must, but I feel like it gives the tree a put together look. However, there is nothing more precious than a home made angel sitting atop your tree. Nothing beats that
Here are a couple of fun Christmas ornaments I have made with Nora the past two years. The first is a DIY hand wreath. The hardest part was getting her little hands to hold still long enough to trace onto the felt 
1. Trace your little one’s hands on some green felt. Nora’s wreath took about 8-10 hand prints.
2. Cut out the hands and hot glue together in the shape of a wreath.
3. Hot glue green, red and white buttons all over the wreath. Tie a little red bow and glue it to the bottom, as well as some red ribbon to the top to hang on the tree.
4. Print off a cute picture of your little one, cut into a large circle and hot glue to the back of the wreath with the picture sticking out through the center of the wreath. Ta! Da! Your done!
The next ornament is even easier then the last. This year we made Christmas angels for the tree and for gifts for Nora’s grandparents. Here is what you do:
1. Take a large plastic cup and cover with tin foil, shiny side out. Little kids have so much fun crinkling the foil up!
2. Get some glittery foam or paper and cut out wings, any size or shape you like. Glue wings, glittery side forward to the tin foil covered cup.
3. Take an old ornament and take of the ornament hook attachment. You can draw a face on it if you’d like 

4. Give your kid lots of fun Christmas buttons, cotton balls, giltter or anything else you think would be festive. Hot glue them to the tin foil on the angel’s body.
5. The last step is the most fun: let your kids give out their angel ornaments to the one’s you love. Nora gave her’s to my mom tonight and she beamed as Grammie told her thank you









 30 Minute Mommy Cleaning Schedule
 I'm Turning 30. So Thank You.
 Sex While Raising Babies
 What's all the hutch about?
Tree trimming walnut creek – I like the way you describe this post. Its really helpful for the users who are looking for the tree trimming services.